2D Platformer on Godot - Quick start, Part 1

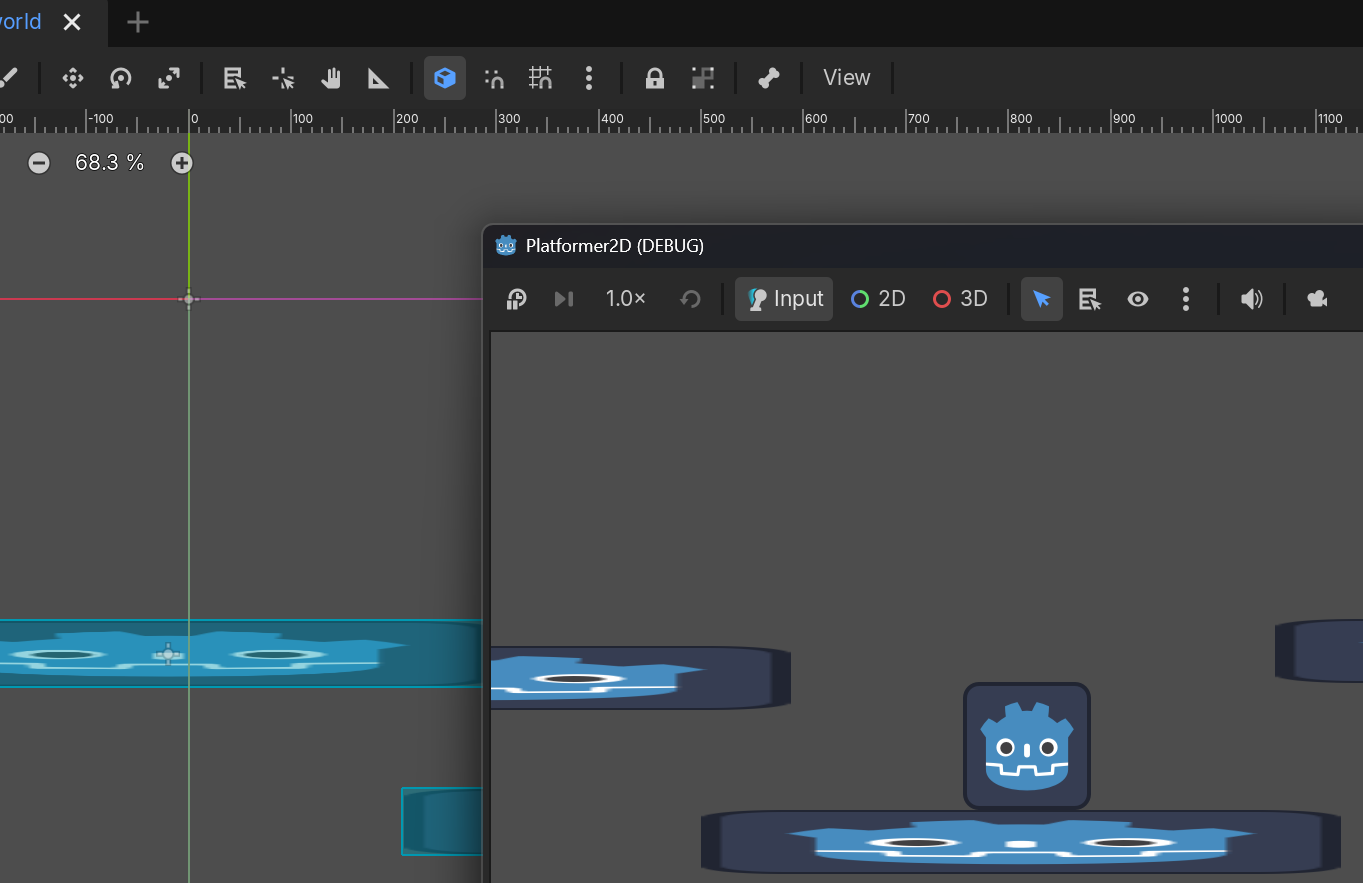
Part 1 - A blank canvas
Introduction
This guide is focused on making a 2D Platformer game on Godot in a practical way for people that are starting with the engine. This guide will provide a good foundation for you to build your game on.
We'll use Godot 4.7 for this guide. If you haven't download it yet, go and download it!
GDScript
The language that we'll use throughout the guide will be GDScript. Don't worry if you don't know/don't care about how to program, just follow the instructions and everything should work.
Regardless of your programming experience, the Godot Docs are an essential source of information about the engine, and you'll be using it a lot.


However, if you do want to learn how to program in GDScript, I would recommend these materials:
 Bartek Patoleta
Create Godot project
Open Godot, click on the Create button and fill the project name.
We will make a 2D game with simple graphics, so the renderer choice boils down to:
- If you want to make Web builds, Compatibility is the recommended renderer;
- If not, leave the selection on the default Mobile renderer.
Forward+ is probably overkill for this project and has support for desktop only, but if you want to choose it I won't stop you. More information about the renderers can be found here.
See the images below for reference:
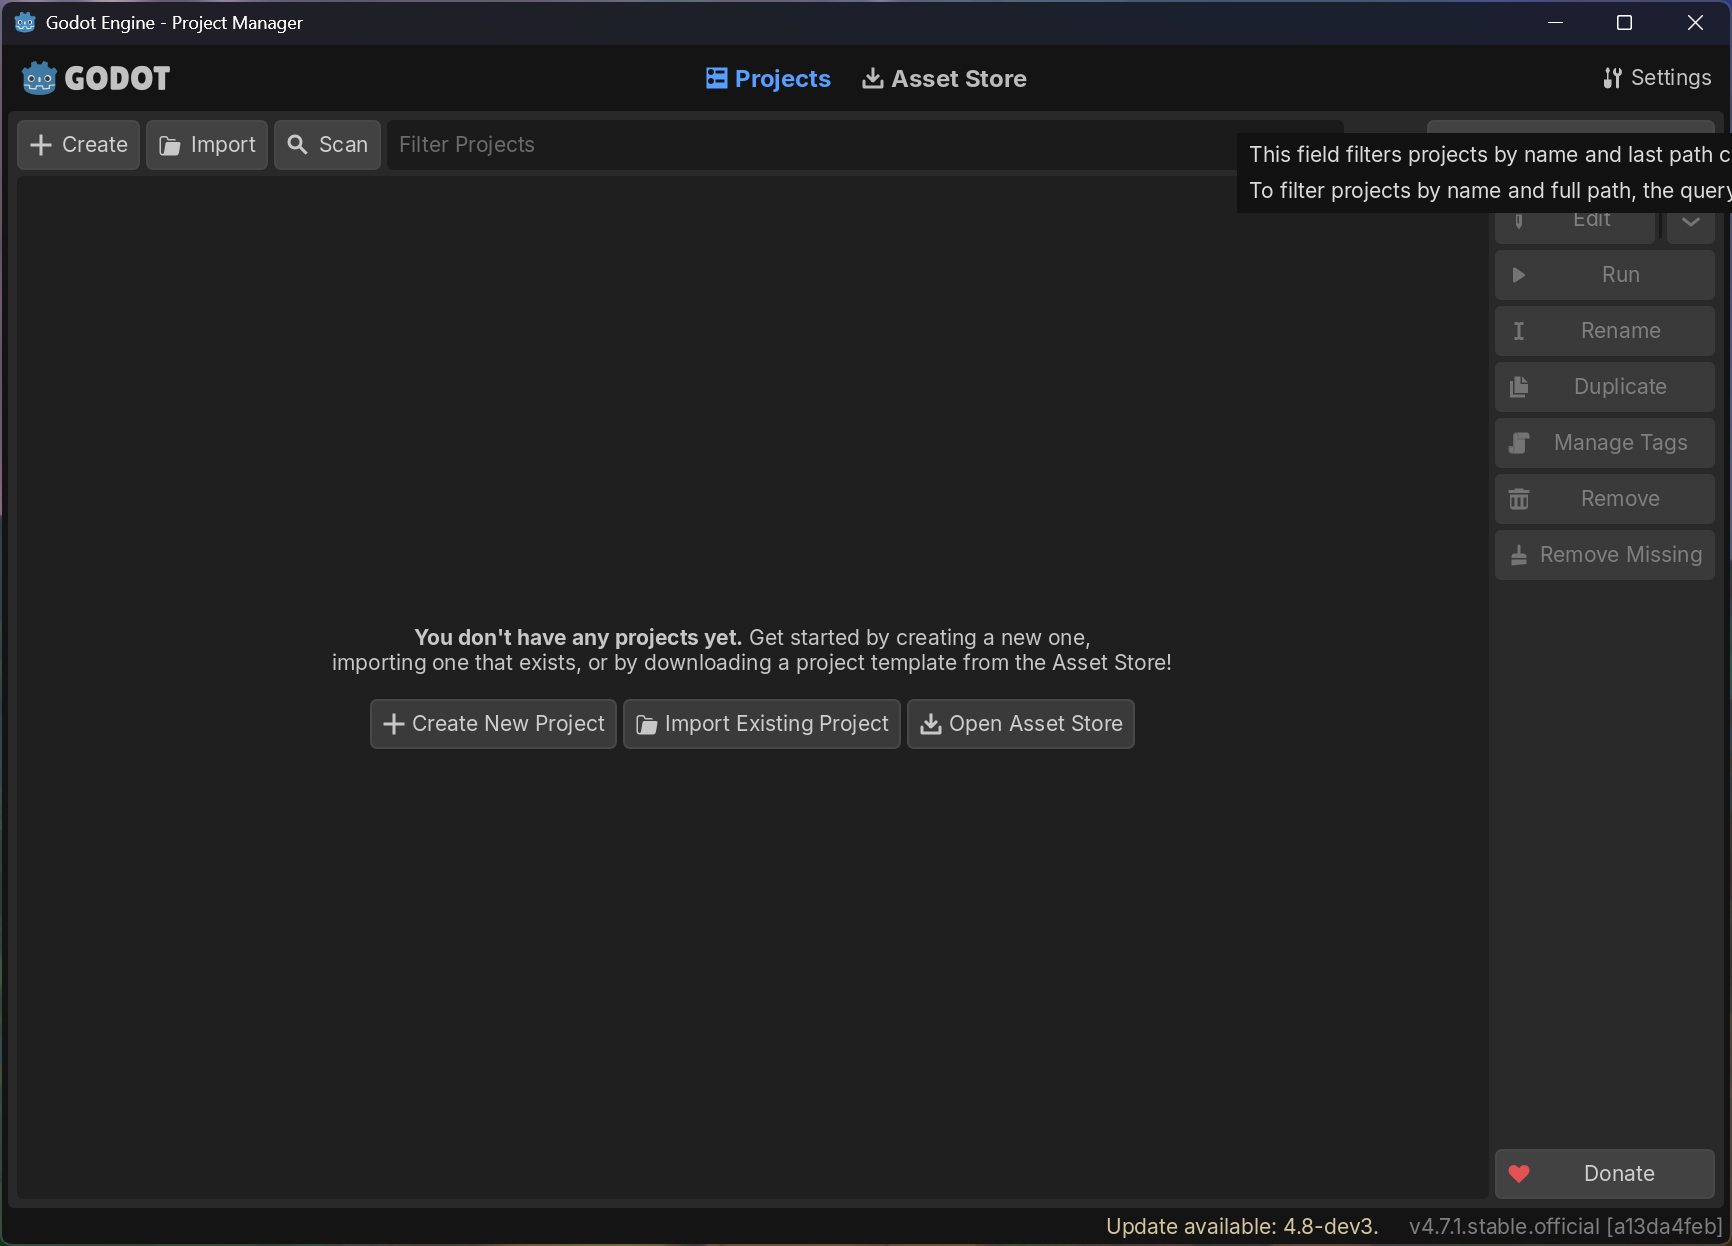
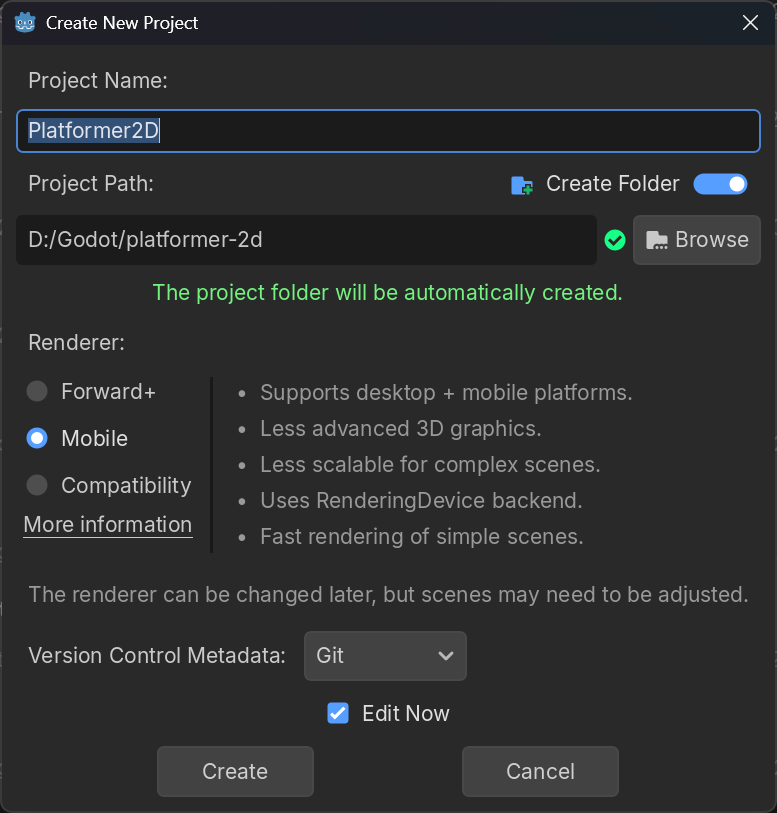
Creating a new project and giving it a name
2D Scene setup
Some of the fundamental concepts of Godot are Nodes and Scenes:
- As the documentation goes, nodes are "the fundamental building blocks of your game";
- Scenes are a set of nodes organized on a tree structure that can be saved on a file.
More information about both concepts can be seen here.
Now, with the newly opened project, it's time to create the root node and save our first scene!
- Click on the 2D scene button;
- Click on the newly created Node2D with the right button and select Rename - or click on the node and press F2;
- Name it "World" (or whatever you want);
- Select the Scene/Save Scene menu option or press Ctrl+S to bring up the Save dialog;
- Click on the New Folder button on the top right corner of the window and create a folder called
scenes; - Name the scene
world.tscn(or whatever you want, keeping the.tscnsuffix) and press the Save button.
A video of these steps is below:
Creating the root node and saving the scene
Player setup
Creating the node
In Godot, every node has a type - the World node created before had the Node2D type, which is "a 2D game object inherited by all 2D-related nodes" and is a common scene root for a game screen or level.
For our player, we'll use a more specialized node called CharacterBody2D - according to the docs, it is "a specialized class for physics bodies that are meant to be user-controlled", which is a good base to build on.
These are the steps to follow:
- Right click on the World node and choose
Add Child Node...(or press Ctrl+A); - On the search box, start writing "Character" and eventually the
CharacterBody2Dnode will appear, double click on it or select it and press the Create button; - Right click with the on the newly created node and choose Rename (or press F2), and give the name "Player" (or, you know, whatever you fancy).
Adding Character2D node to be the Player
Adding needed subnodes
Right now the Player node just exists, it does nothing by itself. So, we need to add some nodes and a script for its behaviour.
Note that the Player node has a yellow warning next to it, indicating that something needs to be fixed. Hovering over the indicator will show an explanation of what to do:

As the warning says, for now the Player node cannot collide or interact with other objects, so let's fix this. Also, let's add something so the player is visible on the screen.
Sprite2D node
These are the steps for adding a Sprite2D node as a child of the Player:
- Right click on player and add a Sprite2D node;
- Click on the Sprite2D node and drag the
icon.svgfile on the FileSystem section (editor lower left) to the Texture slot on the Sprite 2D on the Inspector on the upper right of the editor. - See that the sprite will appear on the Player location on the editor.
CollisionShape2D node
Now let's add the CollisionShape2D node, along with a proper shape:
- Right click on the Player, add the CollisionShape2D node;
- See that the newly create node also has a warning, which indicates that we should add a Shape to it.
- Click on the node, and on the Shape dropdown on the Inspector choose a RectangleShape2D.
- You'll notice that a small blue-shaded rectangle will appear on the center of the sprite; this is the shape of the collider.
- Do not try to move the collider itself! It should remain centered to avoid misalignment issues.
- Click on the red dots on the corners and stretch the collider on all sides, so that it covers the sprite.
Player script
Now it's time to add some functionality to our Player, so we'll add a script to it.
- Right click on the FileSystem on the lower right of the screen and create a new folder, name it "scripts";
- Click on the Player node and then on the Attach Script button next to the top of the Scene panel - the icon with a small green plus sign;
- Click on the folder button on the right of the Path field, go to the parent folder and choose the scripts folder;
- Leave the remaining fields as they are and click on Create.
Adding script to Player
The script you just created adds left and right movement to the player, using the arrow keys, gravity and the ability to jump. It looks like this:
extends CharacterBody2D


const SPEED = 300.0
const JUMP_VELOCITY = -400.0


func _physics_process(delta: float) -> void:
	# Add the gravity.
	if not is_on_floor():
		velocity += get_gravity() * delta

	# Handle jump.
	if Input.is_action_just_pressed("ui_accept") and is_on_floor():
		velocity.y = JUMP_VELOCITY

	# Get the input direction and handle the movement/deceleration.
	# As good practice, you should replace UI actions with custom gameplay actions.
	var direction := Input.get_axis("ui_left", "ui_right")
	if direction:
		velocity.x = direction * SPEED
	else:
		velocity.x = move_toward(velocity.x, 0, SPEED)

	move_and_slide()
Click on F5 or on the Play button on the top right of the editor and let's see what happens...
aaaaaaaaaAAAAAAAA
...and the player just falls through the screen! The script works, adding gravity to the player and letting you move it left and right, but there is nothing to stand on, so the player just falls on the off screen digital abyss.
A platform to stand on
So, let's fix this problem by giving something to the player to stand on: a StaticBody2D, which is a also a physics body but, as the name suggests, it is static, making it a great base for a platform. Let's do it:
- Click on 2D on the center top of the editor to go back to the scene;
- Right click on the World node and add a StaticBody2D node;
- Right click on the newly created StaticBody2D node and add a Sprite2D, in the same way as done on the Player node;
- Click on the Sprite2D and on the Inspector on the right, expand the Transform item, click on the chain on the Scale property to unlink the two values, and set the X scale to 5.0 and the Y scale to 0.5;
- Right click on the StaticBody2D and add a CollisionShape2D, along with a RectangleShape2D in it;
- Expand the shape of the CollisionShape2D to cover the sprite area.
- With the sprite and collider set up, position the player and the platform more to the screen center.
Creating a StaticNode2D as an platform and positioning the player and the platform.
Let's play the game again, and see what happens (F5 or Play button on top right corner):
Now the player has something to stand on!
No more falling, and you can move the player with the arrow keys and jump with Space!
Small player adjustment and more platforms
For now, the player is anchored on space, but it has a pretty low jump; also, only one platform in a Platformer is somewhat boring. Let's do something about this:
Let's go higher
The current jump height it kinda small, so how can we adjust this? Let's find out:
- On the FileSystem pane (lower left), double click on the
player.gdscript on thescriptsfolder; - On line 5, change the value of
JUMP_VELOCITYconstant from -400 to -700.
Adjusting the jump height
More places to jump
Let's add more platforms:
- Click on the 2D button on the center top of the editor to go back to the scene;
- Rename the StaticBody2D (select it and press F2 or right click and choose Rename) to Platform;
- Right click the Platform node, choose
Save Branch as Scene...and save a new scene with the given name (platform.tscn); - On the FileSystem, drag the
platform.tscnscene created to the screen and see a new platform appear! - Drag one more and that's it.
Now, run the game and see that the player jumps higher and is able to stand on the other platforms!
Next steps
Some other things you can to organize the scene a bit:
- Create a Node2D as a parent to all platforms;
- Save the Player as a scene, it will make it easy to add the Player on other scenes and also to edit the Player in isolation;
- Edit the
SPEEDconstant on the Player script and see what happens!
And that's it for now!
For Part 2, this is what we'll cover:
- Add a camera to expand the stage;
- Add some sprites to give proper visuals to the game;
- ...and other things.
See you on the next part!